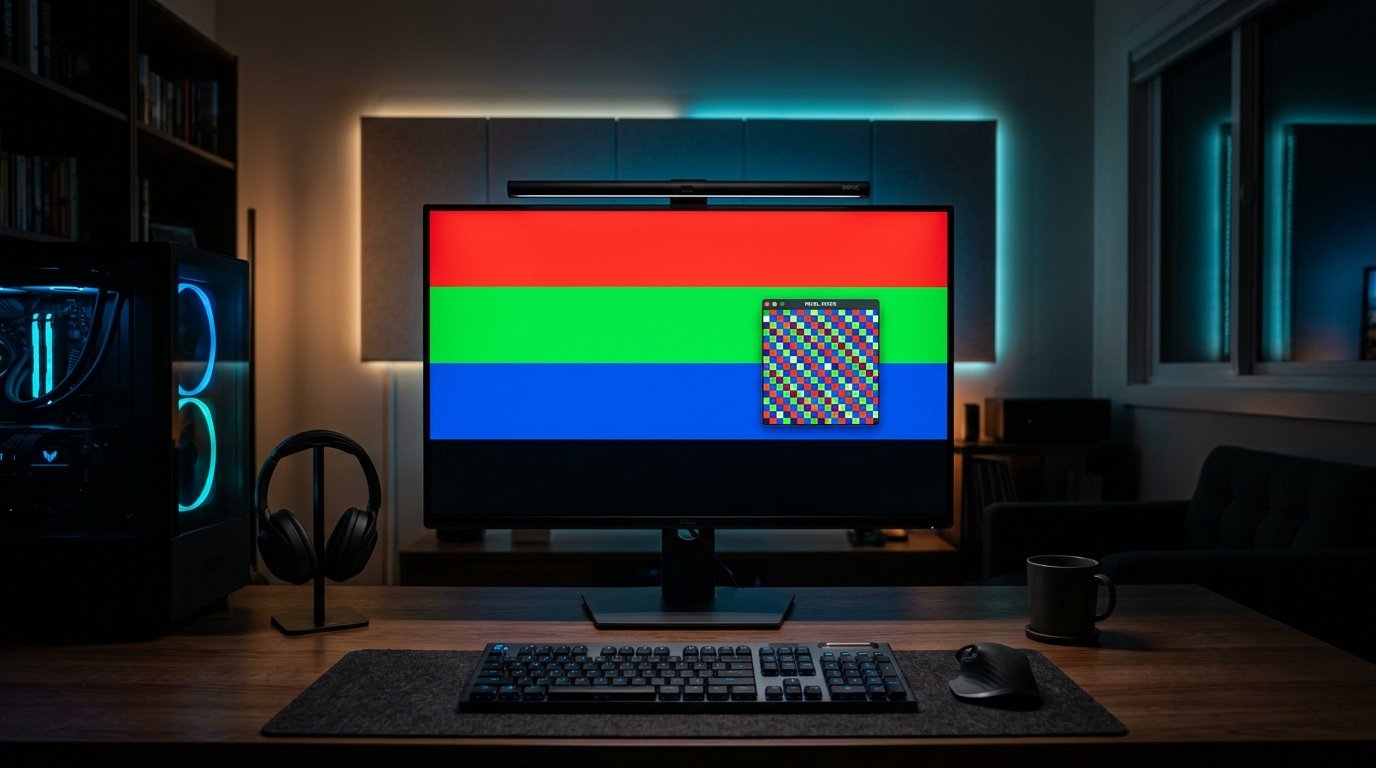
Buying a new monitor, TV, or smartphone is always exciting. However, nothing ruins the experience faster than noticing a tiny, distracting speck on your screen—a dead or stuck pixel. Whether you are a gamer demanding flawless visual performance or a professional designer, knowing how to test and potentially recover stuck pixels is essential.
1. Dead Pixel vs. Stuck Pixel: What’s the Difference?
Before attempting to fix your display, it is crucial to identify whether you are dealing with a Dead Pixel or a Stuck Pixel:
2. Step-by-Step Guide: How to Test Your Screen
Testing your monitor or smartphone for display defects takes less than two minutes when following these steps:
- Clean Your Display thoroughly: Dust particles often look identical to dead pixels. Use a soft microfiber cloth and screen cleaner before starting.
- Open Fullscreen Mode: Launch our free tool at DeadPixelTests.com and press
F11(or click the fullscreen button on mobile) to hide browser toolbars. - Cycle Through Solid Colors: Switch through Black, White, Red, Green, and Blue test screens:
- White Screen: Best for finding Dead Pixels (black dots).
- Black Screen: Best for finding Stuck Pixels (bright colored dots) and backlight bleed.
- RGB Screens: Isolates sub-pixel failures across specific color channels.
3. How to Fix a Stuck Pixel (Free Methods)
If you identify a stuck pixel during testing, don't panic! Try these tested solutions:
- Method 1: Use our Screen Flasher / Fixer Tool
Our website features an integrated Stuck Pixel Fixer (RGB Strobe). This tool rapidly flashes high-speed colors over the affected area to stimulate stuck sub-pixel transistors. Place the flashing box directly over the stuck pixel for 10–30 minutes to attempt recovery. Results are not guaranteed. - Method 2: Physical Pressure (Proceed with Extreme Caution)
Some users attempt gentle pressure over a cloth-covered stylus. Warning: Applying too much force can crack the glass matrix or cause permanent panel damage, which immediately voids store returns and warranties. Software flashing is safer.
4. Manufacturer Warranty Policies (ISO 9241-307)
Some display manufacturers establish pixel-defect policies influenced by industry standards such as ISO 9241-307. Under these guidelines, displays are categorized into fault classes where a certain number of dark, bright, or subpixel defects per million pixels may be considered within allowable manufacturing tolerances before warranty repair or replacement applies. However, exact threshold counts, coverage for bright vs dark dots, and zero-bright-dot guarantees vary significantly by manufacturer and specific product tier.
Pro Tip: Return and dead-pixel policies vary by retailer, country, manufacturer, and display model. Always inspect new and secondhand displays immediately upon delivery and check the seller's return window and manufacturer warranty terms.
5. Conclusion
Bookmark DeadPixelTests.com whenever you receive a new monitor, smartphone, or tablet to instantly verify screen health before the return window closes.
Ready to Check Your Display?
Cycle solid diagnostic colors in full screen to detect any dead, stuck, or hot pixels in under 30 seconds.